Table of Contents >> Show >> Hide
- First: Figure Out What Kind of Lettering You’re Dealing With
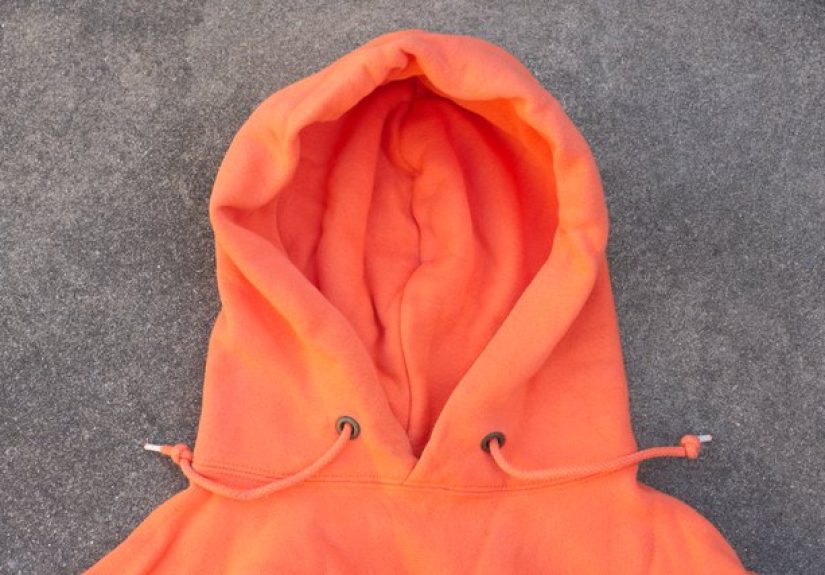
- Before You Start: Safety, Fabric Reality, and a Simple Test
- Method 1: Remove Vinyl Lettering (HTV/Iron-On) With Heat + Peel
- Method 2: Remove Printed Lettering With Nail Polish Remover (The eHow Approach)
- Method 3: Screen Print Removal (Realistic Expectations Included)
- Method 4: Removing Embroidered Lettering (No Chemicals Needed)
- Residue Cleanup: Getting Rid of Sticky Adhesive Without Ruining the Hoodie
- Troubleshooting: Common Problems and What to Do
- When to Stop and Choose Plan B
- Real-World Experiences: What Usually Happens (and How People Actually Succeed)
- Conclusion
That hoodie used to be your favorite. Then it became your “I guess I’m a walking billboard now” hoodie.
Maybe it’s an old team name, a peeling vinyl slogan, or a giant screen-printed logo you no longer want
representing your current personality (which is apparently “neutral tones and boundaries”).
Good news: in many cases, you can remove lettering from a hoodie at home. The catch is that
“lettering” can mean different thingsvinyl, screen print, embroidery, patchesand each one comes off
differently. This guide walks you through safe, realistic methods (with a little humor and a lot of
fabric-respecting caution).
First: Figure Out What Kind of Lettering You’re Dealing With
Before you grab the nearest bottle of nail polish remover like you’re in a cleaning action movie,
take 30 seconds to identify the type of lettering. This step saves hoodies.
Quick “What Is This?” Checklist
- Heat-transfer vinyl (HTV) / iron-on vinyl: Feels slightly plastic, sits on top of fabric, may crack or peel at edges.
- Screen print: Feels flatter than vinyl, ink looks embedded but still has a “printed layer” feel.
- Embroidery: Thread stitches you can see on the inside of the hoodie.
- Patch or applique: A separate piece of fabric attached by stitching and/or heat-activated glue.
Why it matters: Vinyl usually responds best to heat and peeling. Screen print may need solvent and patience
(and sometimes it only fades, not fully disappears). Embroidery is mechanicalthink seam ripper, not chemicals.
Before You Start: Safety, Fabric Reality, and a Simple Test
Read the Care Label (Yes, Really)
Hoodies are often cotton, cotton blends, or polyester blends. Solvents and heat can behave very differently
depending on the fiber. If your hoodie is delicate, vintage, or sentimental, consider professional helpor
accept a “faded but improved” outcome.
Do a Spot Test
Any method involving heat or solvent should be tested on an inconspicuous area (inside hem or near a seam).
If color lifts, fabric roughens, or the material reacts oddly, stop and switch methods.
Set Up Your Work Area
- Work in a well-ventilated space (especially with acetone/nail polish remover).
- Use an old towel or cardboard inside the hoodie to protect the back layer.
- Have a clean rag, cotton pads, and tweezers ready.
- Plan to wash the hoodie afterward.
Method 1: Remove Vinyl Lettering (HTV/Iron-On) With Heat + Peel
If the lettering looks like a decal sitting on top of the fabric, heat is often your best first move.
You’re not trying to burn the hoodieyou’re trying to soften the adhesive enough to lift the vinyl.
What You’ll Need
- Hair dryer, heat gun on low, or household iron
- Parchment paper or a thin cotton cloth
- Tweezers (or your fingernail if you enjoy risk)
- Patience (annoying, but essential)
Step-by-Step
- Lay the hoodie flat and place a towel/cardboard inside it.
- Warm the lettering using a hair dryer (high heat) for 20–40 seconds, moving continuously.
- Try lifting a corner with tweezers. If it resists, heat a bit more.
- Peel slowly while warm. Reheat as neededvinyl re-sticks when it cools.
- If adhesive residue remains, skip ahead to the “Residue Cleanup” section.
Pro tip: Heating from the inside of the hoodie can sometimes work better because it
warms the adhesive through the fabric. Just keep the iron/heat source moving to avoid scorching.
Method 2: Remove Printed Lettering With Nail Polish Remover (The eHow Approach)
If your hoodie has printed lettering (often screen print or similar), eHow’s classic approach uses
acetone-based nail polish remover to loosen the print so it can be rubbed away.
What You’ll Need
- Acetone-based nail polish remover
- Cotton pads or a clean rag
- Soft brush or the corner of a cloth
- Gloves (recommended) and ventilation
Step-by-Step (Gentle Version)
- Place a towel inside the hoodie behind the lettering.
- Soak a cotton pad with nail polish remover and press it onto the printed area.
- Let it sit and work into the print (eHow suggests letting it soak; don’t overdo it on delicate blends).
- Use the corner of a rag or a soft brush to rub the lettering gently, lifting little bits at a time.
- Wash the hoodie. If needed, repeat oncethen stop to avoid fabric damage.
Important: Acetone can be harsh. Test first, avoid open flames, and don’t treat this like a
“soak the whole hoodie” situation. We’re removing lettering, not dissolving your weekend plans.
Method 3: Screen Print Removal (Realistic Expectations Included)
Screen printing can be stubborn because the ink is designed to stay put through washing, drying, and
the occasional spilled coffee. Removal often means softening the ink layer with solvent and working it
off graduallyor fading it enough that it’s no longer visually dominant.
Option A: Solvent + Gentle Scrub
- Insert a towel inside the hoodie (solvent can bleed through).
- Dampen a cloth or cotton pad with acetone (or a print-removal product made for plastisol inks).
- Press onto the print for a short time, then rub gently in small circles.
- Lift loosened ink with a clean rag as you go (don’t smear it across the fabric).
- Wash immediately after.
Option B: Heat + Peel (Works Best on Thick Prints)
Some thicker prints can loosen with heat, allowing bits to lift. Use the same approach as vinyl:
heat, lift a corner, peel slowly. This is more “maybe” than “magic,” but it’s worth trying before heavy solvent use.
Reality check: Screen print sometimes leaves a faint “ghost” outline where the fibers were
compressed or where pigment stained slightly. You can often reduce it with washing, gentle fabric shaving
(for fuzz), or by creatively covering it (patch, embroidery, or a new design).
Method 4: Removing Embroidered Lettering (No Chemicals Needed)
If you can see stitching on the inside, congratulations: you’re dealing with embroidery, which is
annoyingbut usually removable without risking dye transfer from solvents.
What You’ll Need
- Seam ripper (best), small sharp scissors (okay), tweezers (helpful)
- Lint roller or tape (for thread bits)
- Iron with steam (optional, for finishing)
Step-by-Step
- Turn the hoodie inside out.
- Use a seam ripper to cut stitches on the back side (go slowlydon’t slice the hoodie fabric).
- Pull threads out from the front using tweezers.
- Repeat until the lettering is gone.
- If holes remain, gently rub the fabric grain in different directions and use steam to help fibers relax.
Residue Cleanup: Getting Rid of Sticky Adhesive Without Ruining the Hoodie
After vinyl or patches, you might have sticky glue residue. The goal is to break down the adhesive and
lift itthen wash it outwithout leaving an oil stain or rough spot.
Try These in Order
- Warm soapy water + gentle rubbing: Often enough for light residue.
- Rubbing alcohol: Dab, let it sit briefly, then rub and blot.
- Acetone (carefully): Spot-treat stubborn glue, test first, and avoid sensitive fabrics.
- Laundry wash: Wash normally and air dry to check progress before heat-drying.
Avoid: drowning the area in oil-based products unless you’re ready to fight an oil stain next.
Some household products can loosen adhesives, but they may trade “sticky” for “greasy,” which is not the upgrade
you’re looking for.
Troubleshooting: Common Problems and What to Do
The letters won’t peel at all
- Increase heat slightly and work in smaller sections.
- Try heating from inside the hoodie.
- Switch to rubbing alcohol or a dedicated vinyl remover for stubborn adhesive.
The fabric looks fuzzy or rough
- This can happen when prints compress fibers or when you scrub too hard.
- Use a fabric shaver gently after washing and drying (low risk, big payoff).
The color looks lighter where the lettering was
- You may be seeing dye disturbance, fiber compression, or slight bleaching from solvent.
- Stop chemical treatments. Wash, steam lightly, and reassess in daylight before doing anything else.
There’s still a faint outline (“ghosting”)
- Try a normal wash cycle, then air dry.
- Light steam and gentle brushing can help lift compressed fibers.
- If it’s permanent, consider covering: patch, embroidery, fabric paint, or a new vinyl design.
When to Stop and Choose Plan B
Sometimes the most fabric-friendly choice is not total removal, but a clean cover-up. If the hoodie is
melting, discoloring, or looking stressed, it’s telling you the truth: “I was not built for chemical warfare.”
A patch or redesigned front can look intentionaland way better than a damaged spot.
Real-World Experiences: What Usually Happens (and How People Actually Succeed)
Here’s the part nobody tells you when you watch a 12-second “logo removal” clip online: the process is
rarely one-and-done. Most people who successfully remove hoodie lettering do it in roundsheat, peel, clean,
wash, repeatwhile talking themselves out of giving up and buying a brand-new hoodie out of spite.
One very common experience is realizing halfway through that not all letters are created equal. A big varsity
word across the chest may peel in satisfying strips, while the tiny logo near the hem clings like it pays rent.
That’s usually because different decals (and different pressing temperatures) were used in manufacturing. The
workaround is to treat the hoodie like a puzzle: tackle one small area at a time, reheat often, and don’t yank.
Slow peeling wins because it reduces fabric stretch and keeps you from pulling up fibers with the adhesive.
Another typical moment: the “I used too much heat” regret. Hoodies with polyester blends can scorch or get shiny,
especially if you park an iron in one spot. People who get the best results keep the heat source moving and use a
barrier (parchment paper or a thin cloth). They also accept that you’re warming adhesivenot grilling a steak.
If you smell anything that reminds you of melting plastic, that’s your sign to back off immediately.
Solvent experiences are equally dramatic. Some folks try acetone and see ink start to lift right awaythen get
overconfident and scrub like they’re sanding a deck. That’s when fabric pills, dye lifts, or the print smears.
The better approach is almost boring: dab, wait a short time, rub gently, blot, and switch to a clean section of
cloth so you’re lifting loosened material instead of spreading it. And yes, nearly everyone discovers that
ventilation matters when you’re working with acetone. If you can “taste” the fumes, your workspace is basically
auditioning for a cautionary tale.
Embroidery removal has its own emotional arc. At first, seam ripping feels slow and pettylike you’re personally
undoing someone’s craft project from 2013. Then you get into a rhythm, and it becomes strangely satisfying.
The main lesson from people who do it successfully: work from the back, cut stitches carefully, and never force
threads out if they snag. Snagging usually means you cut the wrong thread or you’re pulling at an angle that’s
stressing the fabric. A little steam at the end can make the hoodie look less “recently unbranded.”
Finally, most people notice a “shadow” after lettering removalespecially on older hoodies. Sometimes it’s
leftover adhesive, and alcohol plus washing fixes it. Other times, it’s simply that the covered area didn’t fade
like the rest of the hoodie did, so it looks darker. That’s not failure; that’s physics and laundry history.
When the outline won’t disappear, the best real-world fix is to lean into it: add a small patch, stitch a simple
design, or place a new graphic over the area so it looks intentional. In other words, if your hoodie won’t forget
its past, you can at least give it a better present.
Conclusion
Getting lettering off a hoodie is completely doablewhen you match the method to the material. Start by
identifying whether you’re dealing with vinyl, screen print, embroidery, or a patch. Use heat to soften vinyl,
solvent carefully for prints and adhesive residue, and a seam ripper for embroidery. Work slowly, test first,
and wash afterward. The best outcome is usually “clean enough to wear proudly,” not necessarily “factory new.”
And honestly? That’s still a win.


